Showing posts with label cupcakes. Show all posts

Wednesday, June 6, 2018

Almond Amaretto Cupcakes

IMG_6845 (800x800)

Happy birthday to me! I actually wanted to make these cupcakes for my birthday, but ended up making them in May for my husband’s birthday. Whatever it’s just another day when you’re older right, plus what’s his is mine lol. Anyway, these are really really good! You do have to let them sit out a little just before eating, but otherwise worth all the fuss. Plus I even got to use my cupcake corer tool I’ve had forever now.

IMG_6724 (600x800)

Almond Amaretto Cupcakes

(Adapted from Life, Love and Sugar)


Printer Friendly Version


WHITE CHOCOLATE AMARETTO FILLING
8 oz white chocolate chips
5 tbsp (75ml) Amaretto
3 tbsp (45ml) heavy whipping cream

ALMOND CUPCAKES
6 tbsp (84g) unsalted butter, room temperature
3/4 cups (155g) sugar
6 tbsp (86g) sour cream
1 1/2 tsp almond extract
3 egg whites
1 1/4 cups (163g) all purpose flour
2 tsp baking powder
1/4 tsp salt
6 tbsp (90ml) milk
2 tbsp (30ml) water

ALMOND FROSTING
3/4 cup (168g) salted butter
1/2 cup (95g) shortening
5 cups (575g) powdered sugar
1 1/2 tsp almond extract
3-4 tbsp (45-60ml) water or milk
Sliced almonds, broken into pieces

To make the ganache, put the white chocolate chips in a medium sized bowl.


Put the amaretto and heavy whipping cream in a microwave safe measuring cup or bowl and microwave until it begins to boil.


IMG_6706 (600x800)
Pour the cream over the white chocolate chips and allow to sit for 2-3 minutes, then whisk until smooth. If needed, microwave the mixture for 10-20 more seconds, then whisk until smooth.


IMG_6708 (600x800)IMG_6710 (600x800)


Set the ganache in the fridge to firm up, about 2-3 hours.

To make the cupcakes, preheat oven to 350°F (176°C) and prepare a cupcake pan with cupcake liners.

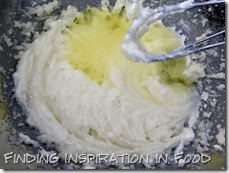
In a large mixing bowl, cream butter and sugar together until light in color and fluffy, about 3-4 minutes. Do not skimp on the amount of creaming time.

IMG_6691 (600x800)IMG_6692 (600x800)

Add sour cream and almond extract and mix until well combined.

IMG_6693 (600x800)IMG_6694 (600x800)


Add egg whites in two batches, mixing until well combined after each.

Scrape down the sides of the bowl as needed to be sure all ingredients are well incorporated.
IMG_6695 (800x600)IMG_6696 (600x800)IMG_6697 (600x800)IMG_6698 (600x800)

Combine dry ingredients in a separate bowl, then combine the milk and water in a small measuring cup.


IMG_6699 (600x800)

Add half of the dry ingredients to the batter and mix until well combined.

IMG_6701 (600x800)

Add the milk mixture and mix until well combined.

IMG_6702 (600x800)

Add remaining dry ingredients and mix until well combined.

IMG_6703 (600x800)

Scrape down the sides of the bowl as needed to be sure all ingredients are well incorporated.

IMG_6704 (600x800)

Fill the cupcake liners about halfway.

IMG_6705 (800x600)

Bake for 15-17 minutes, or until a toothpick inserted comes out with a few crumbs.
IMG_6711 (600x800)

Remove cupcakes from oven and allow to cool for 2-3 minutes, then remove to cooling rack to finish cooling.
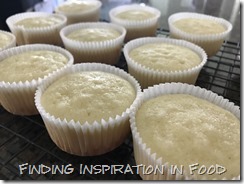

IMG_6713 (800x600)

While the cupcakes cool, finish the ganache. Put the ganache in the bowl of a mixer and whip with the whisk attachment until soft peaks form, about 5-7 minutes. You’ll notice the ganache lighten in color.

IMG_6818 (600x800)

Cut out the centers of the cupcakes. You can use a cupcake corer or a knife.

IMG_6725 (600x800)
Fill the centers of the cupcakes with the white chocolate ganache. Set the cupcakes in the fridge while you make the frosting.

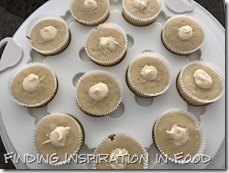
IMG_6819 (800x600)IMG_6820 (800x600)

To make the frosting, combine the butter and shortening with a mixer until smooth.
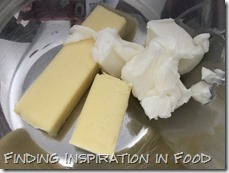
IMG_6821 (600x800)IMG_6822 (600x800)

Add about half of the powdered sugar and mix until smooth and well combined.

IMG_6823 (600x800)IMG_6824 (600x800)

Add 3 tablespoons of water or milk and the almond extract to the frosting and mix until well combined.


IMG_6825 (600x800)IMG_6826 (600x800)

Add remaining powdered sugar and mix until smooth. Add additional water or milk as needed to get the right consistency.
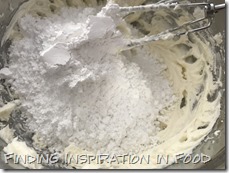
IMG_6827 (600x800)IMG_6828 (600x800)

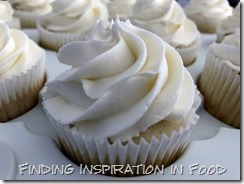
Pipe the frosting onto the cupcakes. I used Ateco tip 844.

IMG_6831 (800x600)

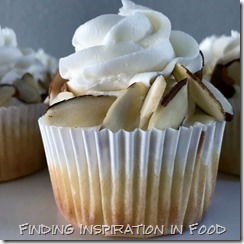
Press broken sliced almonds onto the sides of the bottom of the frosting. Refrigerate cupcakes until ready to serve. Serve at room temperature.

 IMG_6844 (800x600)IMG_6838 (800x600)IMG_6843 (800x600)

Wednesday, May 3, 2017

May The Fourth Be With You - Star Wars Party

IMG_1998 (800x600)

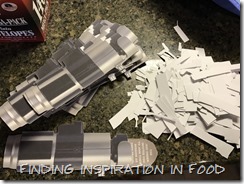
I’m not sure where the time has gone, but I have a 4 year old now! WHAT?!?!?! He’s into a few things right now, but we settled on doing a Star Wars theme for him. I made light saber invitations (because I’m old fashion and love paper invites. I did do a Facebook invite for all of playgroup, but for family, friends and school I made paper invites.) Once RSVP started to fly in all in all I was expecting 40 kids. Insert sigh followed by please let the weather work good for this party!!!!

IMG_0044 (800x600)

I have an awesome friend that offers to make a birthday board every year and I can’t get enough of them! Such a neat way to watch how much has changed over the past year!

IMG_2039 (800x600)

I’m all about the details for a party here’s a couple things I did that really made people giggle.

GVIY9357IMG_1988IMG_0648 (800x600)6b5ecfc61d205589f27c64b52c583af4

I put these signs on the bathroom doors.

IMG_1987

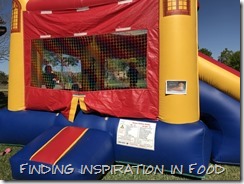
Outside we had a bounce house. It’s hard to tell from the picture, but I added a sign on the side that said Jabba’s Hutt.

IMG_2005 (800x600)

I also had a tattoo station and designed an obstacle course and made Jedi robes for all the kids. (Please feel free to comment or email me and I’ll give you details or links to anything I did!) Another last minute idea I had was using craft paper and laying it out for the kids that just wanted to color and not do the course.

IMG_2003IMG_2035 (800x600)IMG_2021IMG_2012IMG_2034

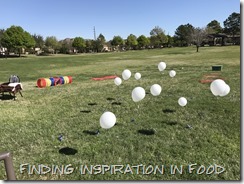
On the course I made a lava stepping stone area (red plastic table cloth with brown paper cut out stones), tunnel, destroy the death star (corn hole), light saber training (bubbles), avoid the lazars (red ribbon zig zag they jumped over) and defeat the storm trooper balloons.

IMG_1997

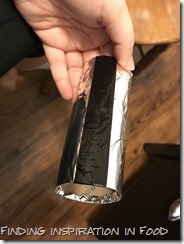
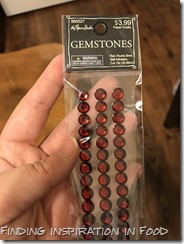
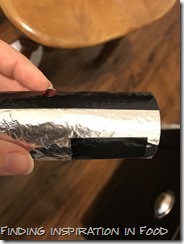
Here’s how I made the light saber balloons (After I finished I decided to cut the balloons in half and make 2 per balloon) – I used this mini duct tape I found at Hobby Lobby, gems (from scrapbook isle), toilet paper rolls and foil. I wrapped each roll in foil then put a strip of tape to cover the line so it’s not sharp. Then cut 3 small pieces and placed on each side. I added a jewel for the saber button. That’s it, super easy!

IMG_9972IMG_9961IMG_9962IMG_9963IMG_9973IMG_9967IMG_9968IMG_9969IMG_9970IMG_9971IMG_9974IMG_9975IMG_9976

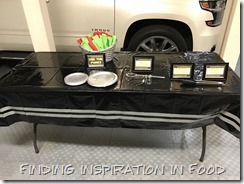
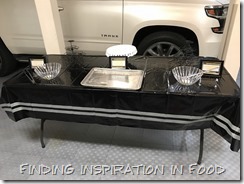
So now onto the food!!! Ok y’all I’m sure you’ll think I’m crazy, but in order to stay organized I HIGHLY recommend notes and lots of them! I basically had 2 hrs to set up at another location not at my house. I set up each table took a picture of how I wanted it to look then made a Word doc to explain what goes where. Such a lifesaver I just handed it out and they set up without asking me 100 questions.

IMG_0961 (800x600)IMG_0962 (800x600)IMG_0963 (800x600)IMG_0964 (800x600)

I made backdrops all ahead of time using black table cloths then folding up so the kids just hung then moved along with other projects.

IMG_1980 (800x600)IMG_1981 (800x600)IMG_1993IMG_1992IMG_1991

If you know me then you know I have a hard time narrowing down food selections. I think this is why so many people RSVP to my parties! Instead of over doing it I did small batches of food rather than a ton of each item. Table 1 had – mini waters, juice, plates, light saber napkin wrapped silverware, Asteroids (meatballs), Tie fighters, and Jar Jar Links (pigs in a blanket), Chewbacca’s Chicken (Chickfila Nuggets). To make tie fighters I just used the crescent roll sheets then cut them in strips and twisted them. 

IMG_1980 (800x600)tie fighter

I like details so I found some Star Wars duct tape that I put on each of the water bottles.

IMG_0648 (800x600)

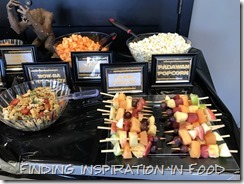
Table 2 – 7 Leia Dip (7 layer dip), Trooper Scoopers (tortilla scoops chips), Princess Lays (lays chips), Droid Dip (zesty ranch dip), Darth Cheddar (Cheese its), Vader Veggies (veggie tray), Thermal Detonators (Cheeseballs), Bow-ba Fett Pasta (cold pasta salad), Padawan Popcorn (popcorn), Obi-wan Kobob-ies (fruit kbobs)

IMG_1984 (800x600)IMG_1985 (800x600)IMG_1986 (800x600)

The dessert table – Death Start Doughnuts, Carbonite Jello, Edible Ewoks

IMG_1983 (800x600)IMG_1982 (800x600)

I did a few cupcakes. Using the Wilton colored chocolate melts I put white and black in ice cube trays to make vaders and storm troopers. For the Yoda ears I used the green melts and piped them on paper I printed covered with cling wrap.

VSHN5187 (800x800)VHPL7178 (800x800)

I’m really pleased with how these came out! For Chewie I used white chocolate on kitkat bars. Which looking back I should have used the mini candy bars.

IMG_1958 (800x800)

The cake is a whole other beast! My son requested a Death Star cakes so I figured this can’t be that hard. I also figured I would make it ahead of time since we had cupcakes I wouldn’t use the cake. Mistake #1 I wished I would have used rice crispies for this instead of cake. The cake started to sink a little, not super noticeable, but I’m glad I had a support in the cake to hold it together. I used fondant then sprayed it with edible silver paint before decorating it with a toothpick and sprinkles as tiny lights. I used a glow stick as the beam coming out.

 IMG_1990

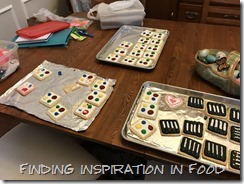
I originally made these cookies as a paint your own light saber cookies, until as they where drying my dog got on the table and managed to mess up a tray and a half. Sooooo no party favors! Luckily I had the robes for kids to take home instead. I did test them out and was pretty excited they did work. I need to make a separate post for these. Maybe I’ll do a summer art party theme for the kids.

IMG_1175 (800x600)IMG_1264 (800x600)IMG_1242 (800x600)IMG_1315 (800x600)IMG_1317 (800x600)